I know some of you are wondering, "what's so wrong with sugar"? When I was growing up, sugar was considered to be "empty calories", meaning not necessary, but also not inherently harmful. Unfortunately, recent research is suggesting that sugar might not be so innocent after all. Some of the findings include links to Type II diabetes, weight gain, unhealthy cholesterol levels, heart disease, and tooth decay. In fact, some argue that sugar possesses addictive qualities similar to cocaine! Do I think that sugar is evil and we should avoid it at all costs? No, but I do think there's enough evidence that it's potentially harmful to make efforts to consume it in small amounts and reserve sugary foods for occasional treats.
So how much added sugar should we eat? According to the American Heart Association, children should have no more than 3 teaspoons, women 6 teaspoons, and men 9 teaspoons per day. And how much do we actually eat? Here are some reference points for "healthy" foods:
- 1 slice of Arnold 100% Whole Wheat Bread: 1 teaspoon sugar
- 1 (2-bar) pouch Nature Valley Oat & Honey Granola Bars: 3 teaspoons sugar
- 1 cup GoLean Crunch cereal: 3 teaspoons sugar
- 1 20-ounce bottle vitaminwater attention: nearly 8 teaspoons sugar
The answer is that there is a whopping FOUR TEASPOONS of added sugar in 1 cup of vanilla yogurt. That's more than a child should have in a whole day, and more than the amount in three Oreo cookies. (Note that it's possible that fruit flavored yogurts have slightly less added sugar due to the natural sweetness of the fruit, but most fruit versions have sugar listed long before fruit in the ingredient lists, and may only contain fruit in the form of fruit juice concentrate, aka sugar!). Do you think you actually need 4 teaspoons to make plain yogurt enjoyable? I highly doubt it, but food manufacturers know that for most people, the sweeter the better, and they can sell more product if they load it up.
The impact of this is twofold - first, if you believe the research demonstrating that sugar is actually harmful to our bodies, you are contributing to long term health issues by serving this food which is generally perceived as healthy. And second, foods like this train our tastebuds to prefer sweet foods, meaning not only do we need increasingly sweeter foods over time to satisfy cravings, but naturally sweet foods like fruit become less exciting, and bitter or more complex flavors are even less appealing. This is incredibly important as we try to help our children develop a taste for a wide variety of real foods, since something as simple as serving flavored yogurt might be undermining our efforts to teach our children to enjoy fruits and vegetables.
If I've convinced you that flavored yogurt might not be the best choice, let's talk about where to go from here. The obvious answer is to buy plain yogurt and sweeten it at home if necessary. I'd be willing to bet there are very few people (even kids!) who would need 4 full teaspoons of sugar in every cup to make it enjoyable - a spoonful of honey or maple syrup, jam, or even some fresh or frozen fruit can make a big difference. By sweetening at home, you know exactly what you're getting, plus over time you can slowly reduce the amount and learn to appreciate the tangy creamy taste of the yogurt itself.
So if it's that easy to just buy plain yogurt, why would I recommend taking the next step and making it at home? Well, for one thing, it's pretty cool to see milk turn into yogurt! But that aside, there are 2 other really good reasons to make it yourself - cost and quality.
First, cost. The (admittedly pricey) organic whole milk from grass-fed cows I buy is $6.29 per gallon, or $0.39/cup. From the same store, a quart of Stonyfield Farm Organic Plain Yogurt is $3.89, or $0.97/cup - more than double the price! Now if you're buying the individually packaged YoBaby cups, the price at my store is $2.69 for 4 4-oz cups, or $1.34/cup, more than triple the price of the homemade version. My family goes through a lot of yogurt, so this is a real savings for us over time.
Second, quality, which is a direct follow-up to cost. Even the organic plain yogurt in the store often still contains additives (thickeners, stabilizers, etc.) and is certainly not made from grass-fed milk, which is more nutritious. So I am able to buy the best quality milk I can, skip the additives, and still pay a third of the price of the YoBaby, all for a few extra minutes in the kitchen. If your budget or your values do not lead you to organic or grass-fed milk, you can still save a lot of money by making yogurt yourself, possibly making room for an upgrade in quality.
If you've made it this far, I'm willing to guess you're at least intrigued enough to learn what it takes to make yogurt at home! Honestly, I could have never imagined it was so simple. While it takes about 12-15 hours total time, the active time is roughly 5 minutes. Seriously. The hardest part is just remembering that you have yogurt going in the kitchen! There are many other methods for making yogurt, including the use of thermometers or yogurt-making machines, but the process I follow is so simple and gives me at least a 90% success rate (with the 10% "fails" just resulting in thinner yogurt), so I'm not inclined to complicate at all.
I hope I've inspired you to give it a try, and please feel free to leave any questions or results in the comments!
Homemade Yogurt
What you'll need
- Whole milk (organic and/or grass-fed if possible)
- 1-2 spoonfuls PLAIN yogurt (store-bought for your first batch, and the end of your existing batch once you get things going)
- Glass storage container (e.g., Pyrex) big enough to hold however much you want to make (I'd recommend 1-2 quarts at a time)
- A slow cooker OR a pot
Overview
Here's what's going to happen: heat milk until it's hot enough to kill anything you don't want in your yogurt. Cool the milk down until it won't kill the good stuff in the yogurt, but is warm enough to provide a cozy environment for your yogurt cultures to get to work. Give the yogurt cultures time to do their thing, refrigerate, and enjoy!
Details
Slow cooker method: Pour milk into a heat safe glass bowl (Pyrex glass storage is perfect here). Place bowl in slow cooker insert, cover, and turn on high. Heat milk for about 2-3 hours, until milk is forming tiny bubbles around the edge and across the top, and starting to develop a skin. It should not come to a boil, but look close. Turn off the slow cooker and remove the glass dish. Continue below photos...
Stove-top method: Pour milk into a pot and slowly and gently heat over a low flame until milk is forming tiny bubbles around the edge and across the top, and developing a skin. It should not come to a boil, but look close. Pour milk into a glass storage container.
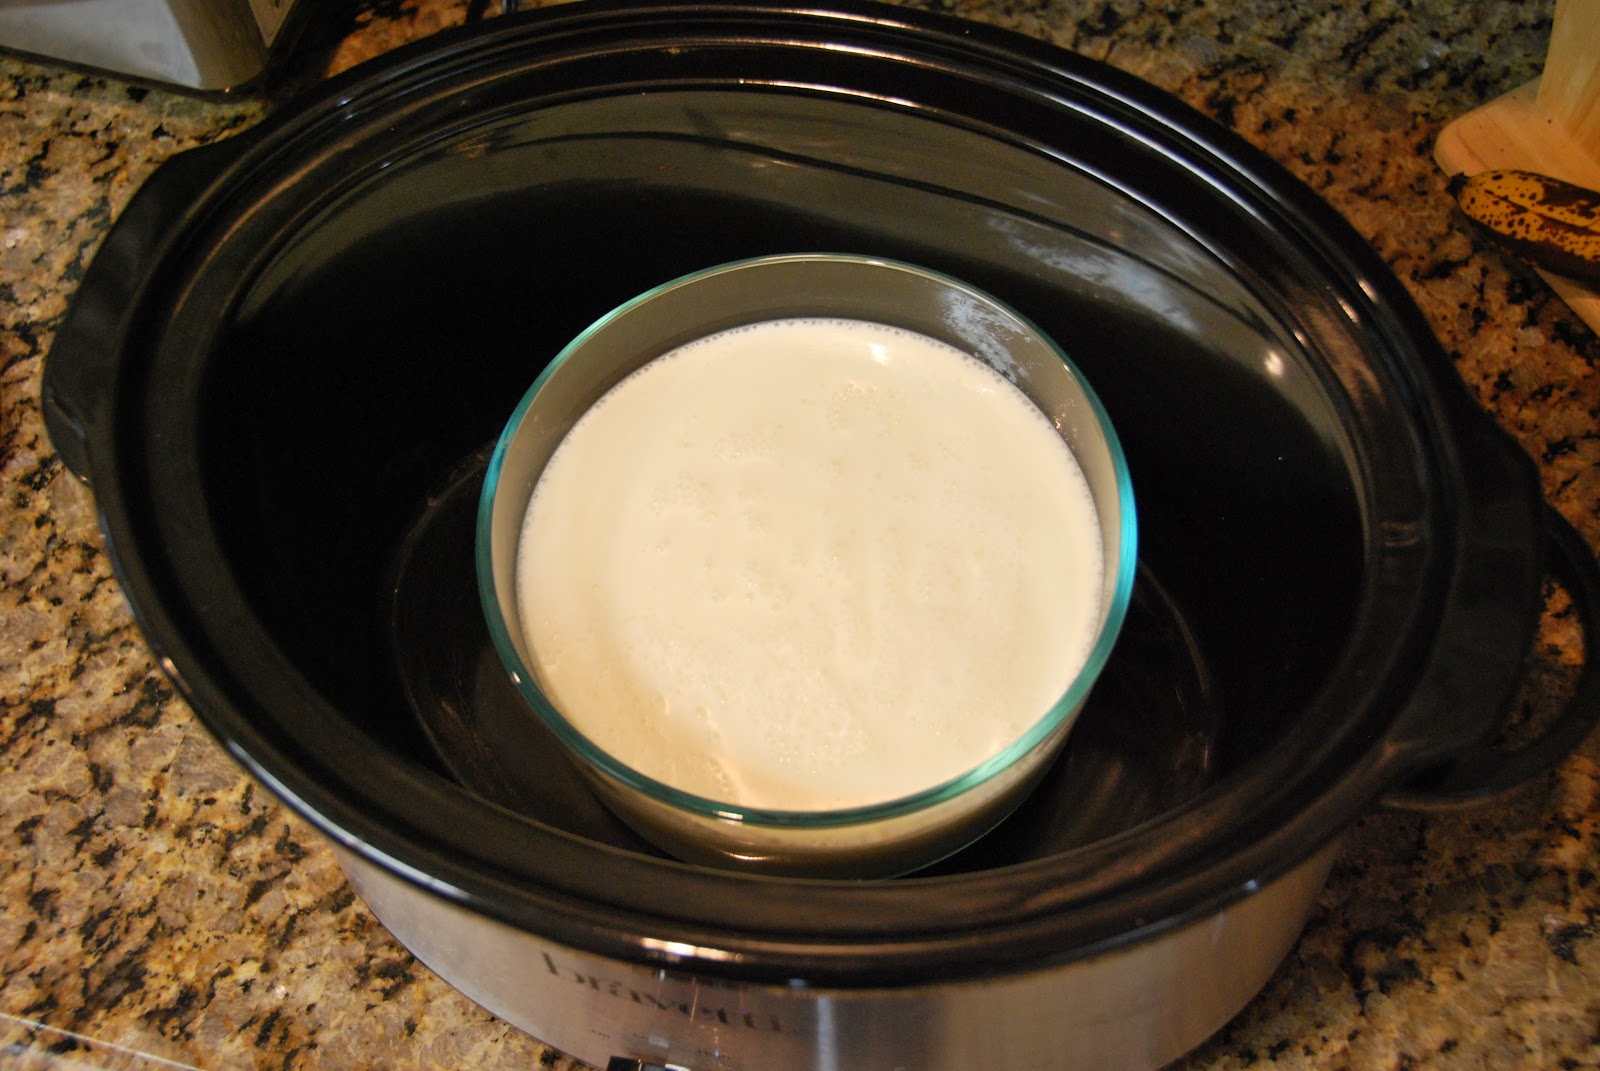
Here is the milk warming in the slow cooker...

And a close-up of the bubbles on top when it's ready to come out!
In both cases: Let the milk cool until it definitely feels hot, but you can put your finger in without burning it (slightly hotter than what would be comfortable for a hot tub). This will take about a half hour on the counter if you stir occasionally, or else if you're in a rush you can stick it in the fridge or even an ice bath, but be careful not to cool too much! Once it's ready, mix in 1-2 spoonfuls of yogurt, and place in the oven, NOT turned on, but with the light on for 10-12 hours. You'll know your yogurt is done when it has thickened enough that it doesn't slosh around when you hold the bowl on an angle. Chill for a few hours, add your favorite toppings, and enjoy!
More notes:
- This recipe can be scaled up depending on the size of your container. I generally make closer to 6 cups, and then use 2-3 big spoonfuls of existing yogurt.
- The slow cooker method has the benefit of virtually no clean up because you're heating the milk right in the container you'll eventually keep it in the fridge, but the stove top method is still pretty simple - just an extra pot to wash.
- I have 2 timetables for making yogurt: if I don't need to use my oven all day, I'll get the yogurt started first thing in the morning. It heats in my slow cooker from about 7-9:30am, cools til 10am, and then processes until bedtime, when I put it in the fridge so it will be ready for breakfast the next day. Alternatively, I can start it in the afternoon around 3, heat til 5:30, cool til 6, and then process overnight in the oven so that it's ready to go in the fridge first thing in the morning. If you are lucky enough to sleep past 6 in your house, you can push this a little later, just make sure to start heating 3 hours before bedtime. Unless, of course, you want to just heat the milk on the stovetop, which will go much faster than the slow cooker!
- If for some reason you need to use your oven before your yogurt is ready, you can put the container of processing yogurt carefully back in the slow cooker. Turn to "keep warm" for about 10-15 minutes, then either wrap the whole thing in a big towel or blanket, or if you will be in the kitchen, you can keep turning it on and off so that it stays warm but doesn't get too hot. This is a little annoying, but it works in a pinch!
- I've read that you can make yogurt with reduced fat or skim milk, but have not tried it myself! I'd recommend starting with whole milk and getting the process down before branching out, if you so choose.
- Make sure to tell everyone in your house not to finish the yogurt! After the first batch, you hopefully will not need to buy another container - just save 2-3 spoonfuls from the yogurt you made to get your next batch going.
I LOVE this post!! I learned so much!!!
ReplyDelete(Even though I was already on the making-yogurt-bandwagon :))
I suppose the only thing I'd add is that in my opinion homemade yogurt is also way tastier than what you can get in the story. Like eating pure freshness!
Thanks Ann! I think you were the first person I ever knew who actually made yogurt at home, and back then I thought you were crazy...who knew I'd end up coming around so completely :) And yes, I totally agree...I'm actually not a huge yogurt fan in general, but love the yogurt I make at home!
Delete